
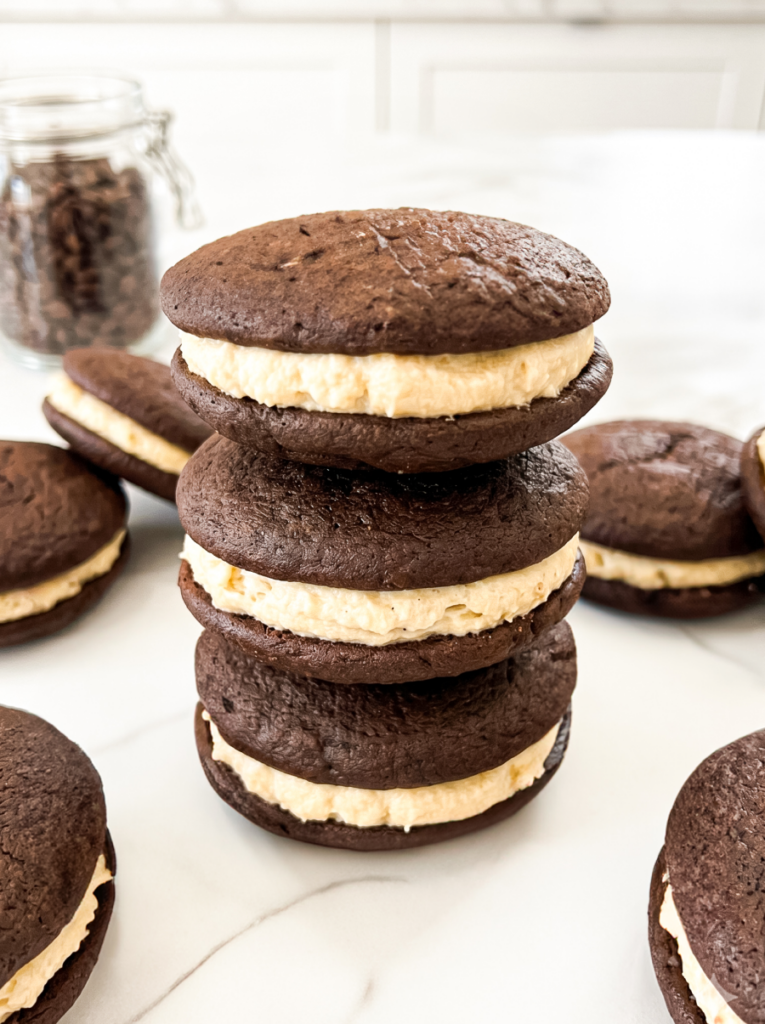
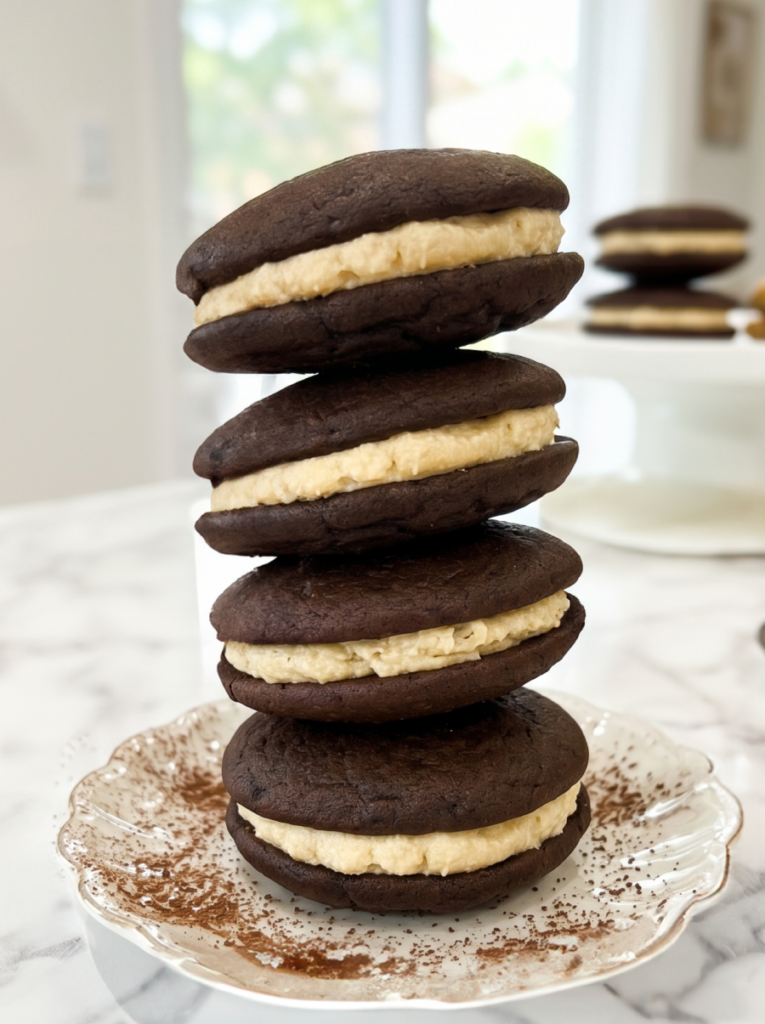
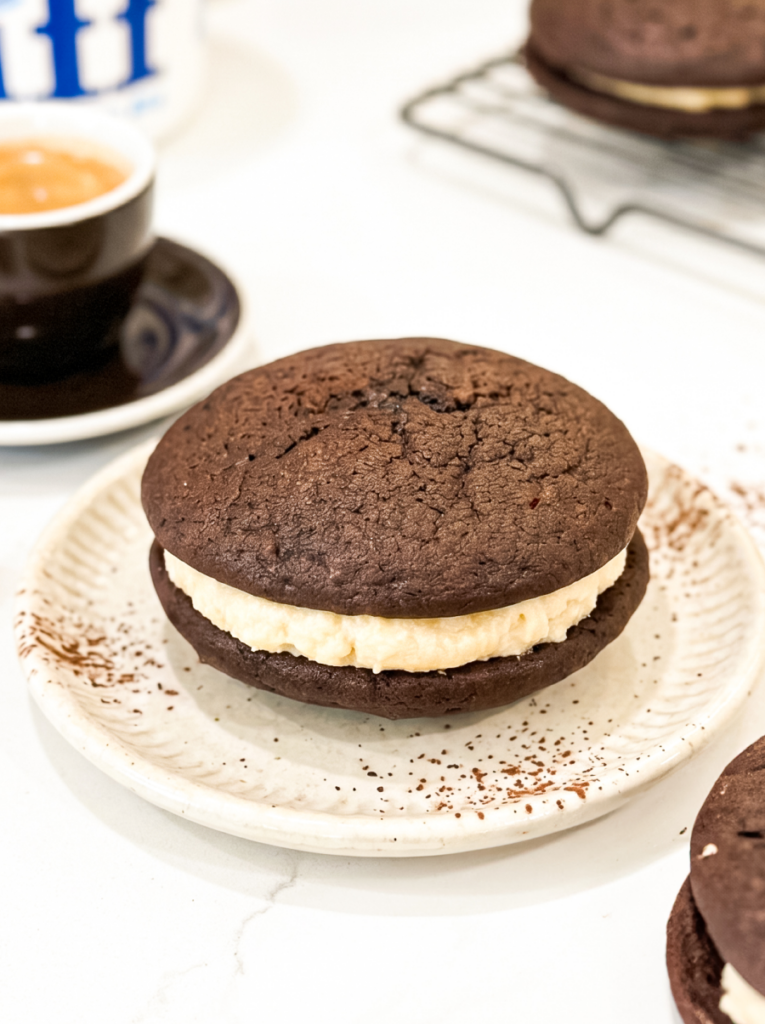
These tiramisu whoopie pies taste like the Italian dessert got turned into a handheld cookie — soft chocolate cakes sandwiched with a mascarpone filling. The marshmallow fluff in the filling keeps it light and spreadable!
The instant coffee adds depth to the filling so it doesn’t just read as sweet cream cheese. You get that subtle coffee flavour that makes tiramisu work, plus the chocolate cakes have enough cocoa to stand up to the rich filling without getting lost.

Why you’ll love this recipe
Marshmallow fluff lightens the mascarpone – straight mascarpone filling would be too dense and rich, but the fluff makes it creamy and spreadable without losing that classic tiramisu flavour.
Brown sugar keeps the cakes soft – the molasses in brown sugar adds moisture, so these stay tender even after a day in the fridge instead of drying out like some whoopie pies do.
Coffee flavour without being overwhelming – the instant coffee in the filling tastes like tiramisu, not a coffee cake, so even people who don’t drink coffee still like these.
Ingredients
- All-purpose flour
- Dutch-process cocoa powder
- Baking soda
- Sea salt
- Unsalted butter
- Brown sugar
- Egg
- Vanilla extract
- Greek yogurt
- Milk
- Marshmallow fluff
- Mascarpone
- Instant coffee
- Vanilla extract
- Fine sea salt
Tips for making tiramisu whoopie pies
- Space the batter properly on the baking sheet — these spread just slightly in the oven, so leave at least 2 inches between each scoop or you’ll end up with cookies that merge into each other
- Use room temperature ingredients — cold butter won’t cream properly with the brown sugar, and cold Greek yogurt will make your batter lumpy and dense. Everything should be at room temp before you start mixing.
- Don’t skip sifting the cocoa powder — Dutch-process cocoa clumps easily and you’ll end up with bitter pockets in your cakes if you don’t break it up. A fine-mesh strainer works just as well as a sieve.
- Beat the filling on low speed — mascarpone can break and turn grainy if you whip it too hard. Low speed keeps the texture smooth and creamy, which is what you want in a tiramisu filling.
- Chill before serving — the filling is soft when first mixed and will squish out if you bite into them right away. An hour in the fridge sets it up so the whoopie pies are actually easy to eat without making a mess.
Frequently Asked Questions
Can I make these without instant coffee? You can skip it if you don’t have any, but the filling will taste sweeter and less like tiramisu — more like plain vanilla mascarpone cream. If you want that coffee flavour without instant coffee, try mixing 1 tablespoon of very strong brewed espresso into the filling, but know that it’ll make the filling slightly looser.
How should I store tiramisu whoopie pies and how long do they keep? Keep them in an airtight container in the fridge for up to 3 days. The texture actually improves after the first day as the cakes soften and the filling settles in. Don’t leave them at room temperature for more than an hour or the mascarpone filling will get too soft.
Can I freeze these for later? Yes, freeze assembled whoopie pies in a single layer on a baking sheet until solid, then transfer to a freezer bag for up to 2 months. Thaw in the fridge overnight before serving — don’t thaw at room temp or the filling will get weepy.
Why did my whoopie pies turn out flat or dense? If your butter or Greek yogurt was too cold, the batter won’t mix properly and the texture suffers. Also check that your baking soda isn’t expired — these rely on it for lift. Make sure you’re measuring flour correctly (spoon and level, don’t pack it) or you’ll end up with dry, heavy cakes.
These taste like you put actual effort into dessert, which you did, but not as much as making a full tiramisu from scratch. The chocolate cakes are soft and the mascarpone filling has that coffee depth that makes the whole thing so delicious!
Happy baking!
Print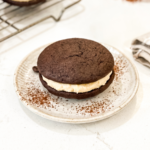
Tiramisu Whoopie Pies
Description
Soft chocolate whoopie pies filled with mascarpone cream spiked with instant coffee, like handheld tiramisu in cookie form. The marshmallow fluff keeps the filling light and spreadable, while brown sugar in the cakes keeps them tender even after chilling. Ready in under an hour, better after a day in the fridge.
Ingredients
Whoopie Pies
- 1 1/2 cups (180 grams) all-purpose flour
- 2/3 cup (65 grams) Dutch-process cocoa powder
- 1 1/2 teaspoons baking soda
- 1/2 teaspoon sea salt
- 1/2 cup (115 grams) unsalted butter, room temperature
- 1 cup (200 grams) lightly packed brown sugar
- 1 large egg, room temperature
- 1 teaspoon vanilla extract
- 1 cup (240 grams) Greek yogurt, room temperature
- 1/4 cup (60 millilitres) milk, room temperature
Filling
- 250 grams marshmallow fluff
- 1/2 cup (115 grams) unsalted butter, room temperature
- 1 cup (240 grams) mascarpone
- 1 teaspoon instant coffee
- 1 1/2 tablespoons vanilla extract
- 1/2 teaspoon fine sea salt
Instructions
Whoopie Pies
- Preheat your oven to 375°F (190°C) and line two large baking sheets with parchment paper.
- Sift the flour, cocoa powder, baking soda, and salt into a medium bowl. Set aside.
- Beat the butter and brown sugar in your stand mixer with the paddle attachment until the mixture turns light and fluffy, about 3 minutes.
- Add the egg and vanilla extract, then beat on medium-high speed until everything’s combined and smooth.
- Mix the Greek yogurt and milk together in a small cup until smooth.
- Add half the flour mixture to the butter mixture and beat on low until just combined. Add half the yogurt mixture and beat again until combined.
- Add the remaining flour mixture and yogurt mixture, beating on low until you have a smooth batter.
- Scoop 2 tablespoons (about 40 grams) of batter onto your prepared baking sheets, spacing them about 2 inches apart.
- Bake for 13 minutes, until the tops look dry and spring back when gently touched.
- Let the pies cool on the baking sheet for 5 minutes, then transfer to a cooling rack to cool completely.
Filling
- Beat the marshmallow fluff, butter, and mascarpone in your stand mixer on low speed until smooth and combined.
- Add the instant coffee, vanilla extract, and salt. Mix on low until the filling is smooth and fluffy.
Assemble
- Flip half the cooled whoopie pies flat-side up. Scoop about 3 tablespoons of filling onto each one.
- Top with the remaining pies, flat-side down, pressing gently to spread the filling to the edges.
- Chill the assembled whoopie pies in the fridge for at least 1 hour before serving, this helps the filling set and makes them easier to eat.
Notes
The instant coffee in the filling really does make a difference — it doesn’t taste overly coffee-forward, just adds that tiramisu depth.
Room temperature ingredients matter here. Cold butter won’t cream properly, and cold dairy will make your batter lumpy and dense.
These keep well in an airtight container in the fridge for up to 3 days. The texture actually improves after a day as the cookies soften slightly and marry with the filling.
Leave a Reply