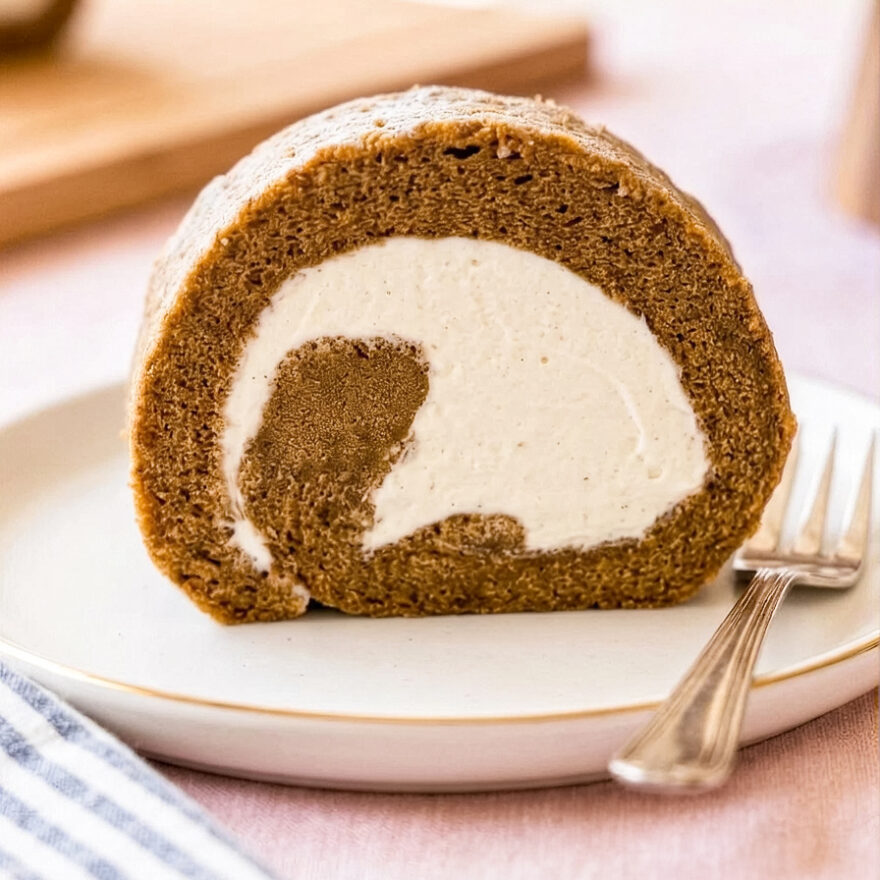
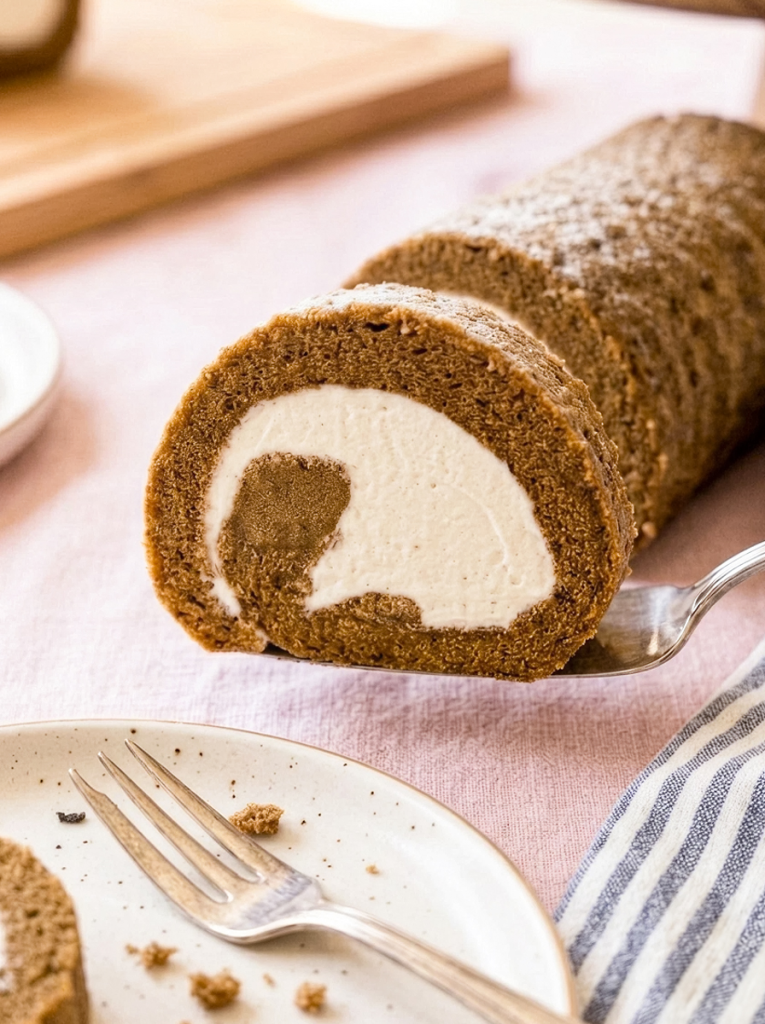
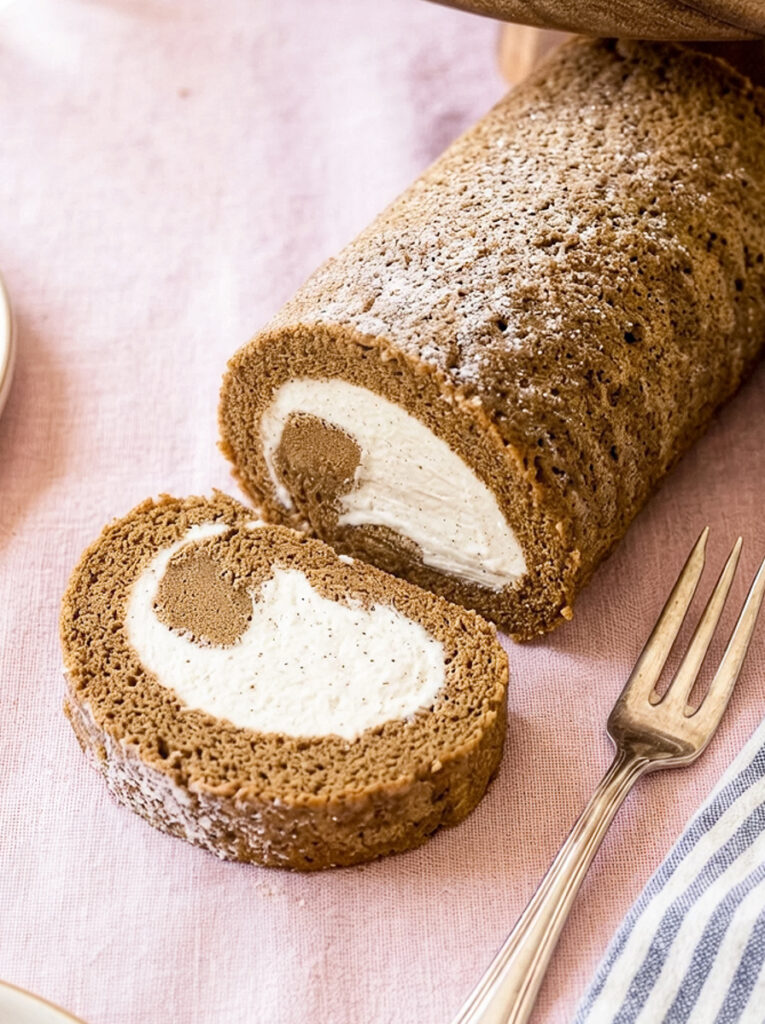
This hojicha swiss roll is soft, pillowy, and filled with lightly sweetened whipped cream. The roasted green tea gives the cake a toasty, almost caramel-like flavour that’s deeper and less grassy than matcha.

The secret to a crack-free roll is rolling the cake while it’s still warm with a damp towel inside. The towel keeps the cake flexible and trains it to hold its shape. When you unroll it later to add the cream, it remembers the curve and rolls up again without protest.
This is one of those recipes that looks impressive but follows a pretty forgiving process once you understand the steps. If you’ve ever been intimidated by swiss rolls or just want to try hojicha in cake form, this is a good place to start.
Why you’ll love this recipe
- Toasty, nutty depth – hojicha powder brings a roasted, almost caramel flavour that’s warmer and less grassy than matcha, especially nice with plain whipped cream.
- Beginner-friendly rolling technique – the damp towel trick keeps the cake flexible and teaches it to roll without cracking, even if you’re new to swiss rolls.
- Light texture, no mixer – this Japanese sponge cake stays soft and airy without needing a stand mixer, just a hand mixer and some patience with the meringue.
Ingredients
- Large egg yolks, room temperature
- Granulated sugar
- Salt
- Vanilla extract
- Neutral oil
- Whole milk
- Cake flour
- Baking powder
- Hojicha powder
- Large egg whites, room temperature
- Lemon juice or cream of tartar
- Heavy cream
*These are the main ingredients. The full list of ingredients and measurements can be found at the bottom of this post!*
Equipment
- 9×13 inch baking tray
- Electric hand mixer or stand mixer with whisk attachment
- Large clean kitchen towel (bigger than the short side of the cake)
- Bench scraper or ruler
- Sieve or fine-mesh strainer
Tips for making hojicha swiss roll
- Use room temperature eggs – cold eggs won’t whip up as well, and your meringue won’t reach stiff peaks as easily. Let them sit out for 30 minutes before you start, or place them in a bowl of warm water for 5 minutes if you’re in a hurry.
- Don’t skip the damp towel step – rolling the cake while it’s still warm with a damp towel inside keeps it flexible and trains it to hold its shape. If you let it cool flat, it’s way more likely to crack when you try to roll it later.
- Fold the meringue gently but thoroughly – you want to keep as much air in the batter as possible, but you also can’t leave streaks of meringue or the cake will bake unevenly. Use a “J” motion with your spatula and scrape the sides and bottom of the bowl to catch any hiding pockets.
- Trim the edges before rolling – cutting off about half an inch from each short end gives you cleaner slices and removes the drier edges that are more prone to cracking.
- Chill before slicing – the roll needs at least an hour in the fridge to firm up. If you try to cut it warm, the cream will squish out and the slices won’t hold their shape.
Frequently Asked Questions
Can I make this hojicha swiss roll ahead of time? Yes. You can bake the cake a day ahead, roll it in the damp towel, wrap it in plastic, and store it in the fridge. Fill and re-roll it the next day. The finished roll also keeps in the fridge for up to 3 days, though the texture is best within the first two.
Can I substitute the hojicha powder with matcha or another tea? You can! Matcha is grassy and bright, hojicha is toasty and caramel-like. If you swap in matcha, use the same amount.
Why did my hojicha sponge cake roll crack when I rolled it? Usually because it cooled too much before rolling, or the meringue was underbeaten and the cake didn’t rise enough. Make sure you roll it while it’s still warm with the damp towel inside. If it does crack a little, the whipped cream and a good chill will help hide it.
Can I freeze this japanese swiss roll? Yes, but the whipped cream texture won’t be quite as light after thawing. Wrap the finished roll tightly in plastic wrap and freeze for up to a month. Thaw it overnight in the fridge before slicing.
Make sure to tag me @theflournook on social media and leave a review below if you make this Japanese hojicha swiss roll. To pin this recipe and save it for later, you can use the button on the recipe card, the buttons above or below this post, or on any of the photos above.
Happy baking!
Print
Japanese Hojicha Cake Roll
- Total Time: 2 hrs 15 mins
- Yield: 8 servings 1x
Description
This soft, fluffy hojicha swiss roll is filled with lightly sweetened whipped cream and tastes like toasted, caramel-kissed green tea. The Japanese sponge cake stays light and pillowy, and the damp towel rolling trick keeps it from cracking. Easier than it looks.
Ingredients
Cake:
- 4 large egg yolks, room temperature
- 1/2 cup (100 grams) granulated sugar, divided
- 1/2 teaspoon salt
- 1/2 teaspoon vanilla extract
- 1/4 cup (50 grams) neutral oil
- 3 tablespoons (45 grams) whole milk
- 1/2 cup (60 grams) cake flour
- 1/2 teaspoon baking powder
- 2 tablespoons (12 grams) hojicha powder
- 4 large egg whites, room temperature
- 1/4 teaspoon lemon juice or cream of tartar
Cream:
- 1 1/4 cups (300 grams) heavy cream
- 1 teaspoon vanilla extract
- 4 tablespoons (50 grams) granulated sugar
Instructions
Cake:
- Preheat your oven to 350°F (175°C) and line a 9×13 inch baking tray with parchment paper.
- In a large bowl, whisk together the egg yolks, 1/4 cup (50 grams) of the sugar, salt, vanilla extract, oil, and milk until smooth.
- Sift the cake flour, baking powder, and hojicha powder into the bowl and mix until just combined. Check for any flour pockets hiding at the bottom.
- In a medium bowl, beat the egg whites with an electric mixer until frothy. Add the lemon juice, then gradually add the remaining 1/4 cup (50 grams) sugar while continuing to beat until you get stiff peaks.
- Using a spatula, gently fold one-third of the meringue into the egg yolk mixture using a “J” motion and scraping the sides of the bowl. Don’t knock all the air out. Repeat with the remaining meringue in two more additions.
- Pour the batter into your prepared tray and spread it evenly into the corners. Drop the tray on your counter a couple times to pop any big air bubbles.
- Bake for 15 minutes or until a toothpick inserted in the center comes out clean.
- Immediately flip the baked cake onto a large damp kitchen towel. Gently peel off the parchment paper.
- Starting from the short side, roll the cake up with the towel — not too tight or you’ll crack it. Let it cool completely seam-side down.
Cream:
- In a medium bowl or stand mixer with the whisk attachment, beat the heavy cream, vanilla extract, and sugar until stiff peaks form.
Assembly:
- Unroll the cooled cake from the towel and transfer it onto a piece of plastic wrap longer than the cake. Trim off about 1/2 inch from each end.
- Spread the whipped cream evenly over the cake, leaving a 1-inch margin at the far short end.
- Roll the cake toward the empty margin. Once fully rolled with the seam facing down, bring the plastic wrap over to cover the roll completely.
- Use a bench scraper or ruler to push the plastic wrap toward the roll, tightening and securing it. Tape the wrap closed.
- Chill in the fridge for at least 1 hour before slicing and serving.
Notes
The damp towel trick is crucial! It keeps the cake from cracking when you roll it warm. If your cake does crack a bit, don’t panic. The cream filling and a good chill will help hold everything together.
Hojicha’s toasty, almost caramel-like flavour pairs beautifully with plain whipped cream, but if you want to lean in harder, add a teaspoon of hojicha powder to the cream.
Room temperature eggs really matter here. Cold eggs won’t whip up as nicely, and your meringue won’t get as fluffy.
- Prep Time: 2 hrs
- Cook Time: 15 mins
- Category: Cake
- Method: Baking

did you make this japanese hojicha cake roll?
Tag me on socials and follow along for new easy sweet treat recipes!



Comments & Reviews