
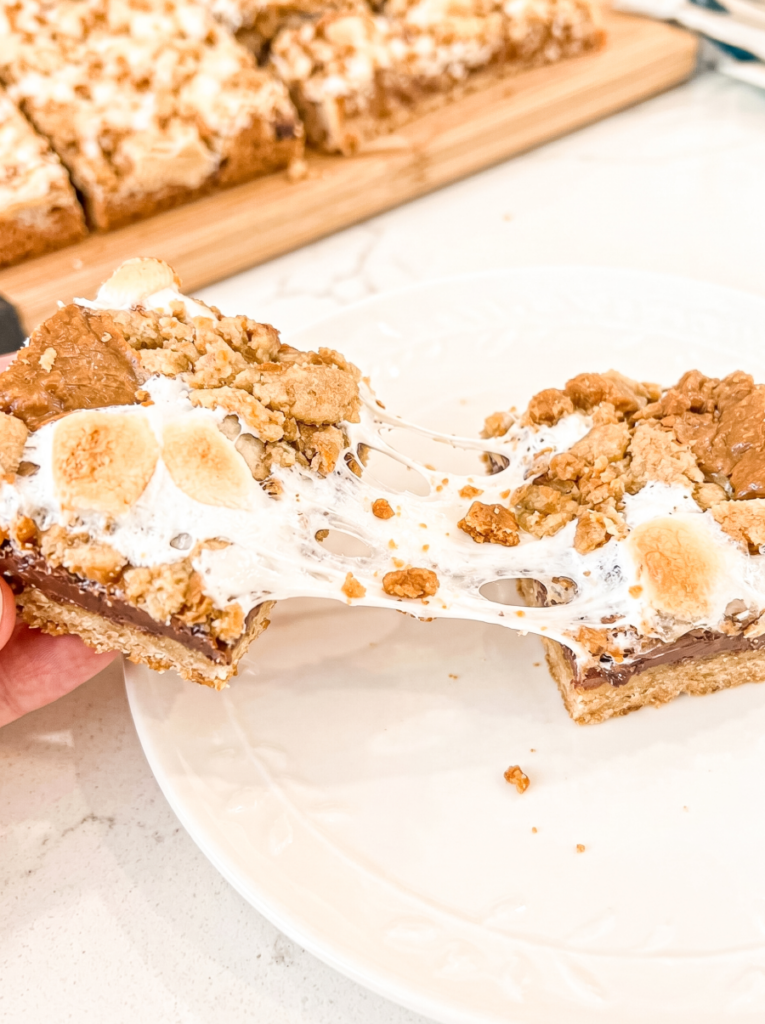
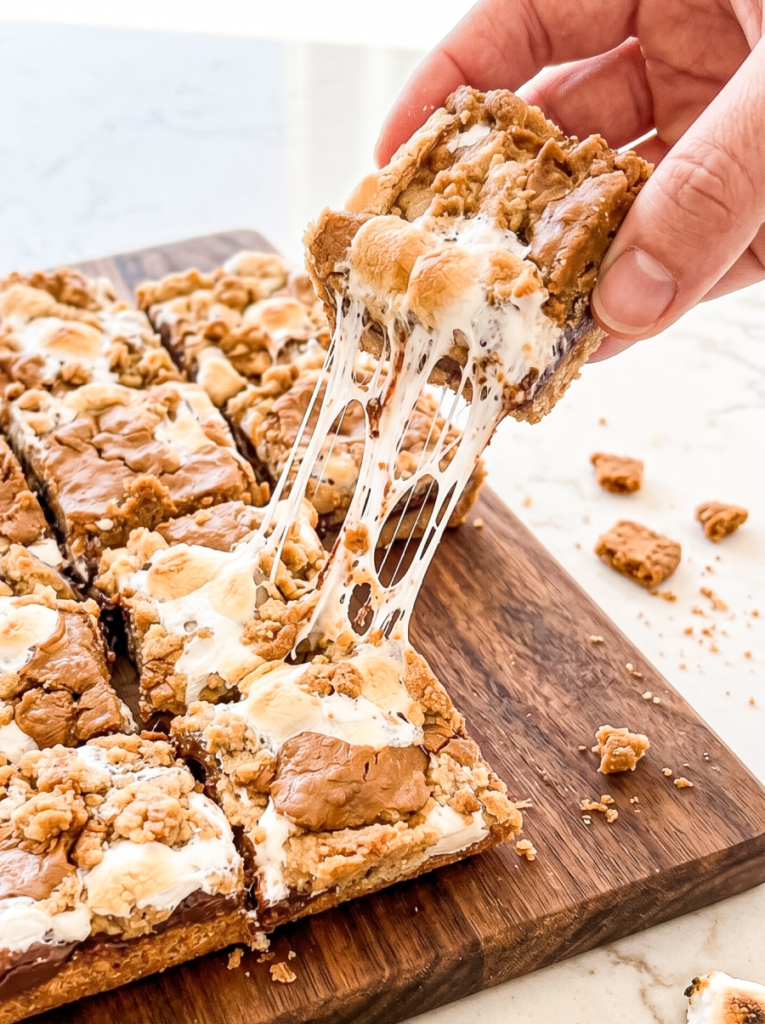
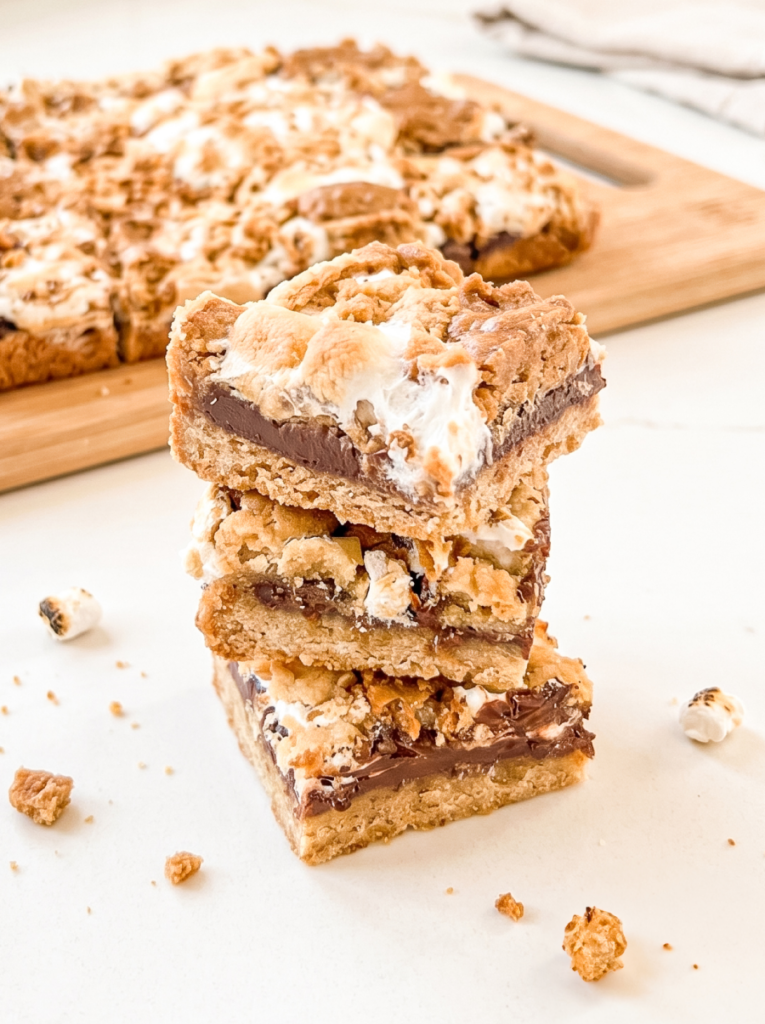
Get ready for the ultimate treat: sticky, sweet Biscoff S’mores Squares! Imagine a chewy, buttery crust with Biscoff cookie crumbs, layered with melty dark chocolate, gooey marshmallow fluff, and fluffy mini marshmallows. And then, of course, we drizzle even more warm Biscoff spread over the top. Every bite is a yummy mix of textures and that Biscoff cookie flavour.
What makes these s’mores squares really special is the triple Biscoff (we’re going all in)! Crushed Biscoff cookies are mixed right into the buttery graham cracker crust, giving it an extra layer of spiced sweetness. Then, a generous drizzle of warm Biscoff spread over the top bakes down into sticky pockets of caramel-like goodness. It’s truly a game-changer for s’mores lovers.

I dreamt up this easy Biscoff s’mores bars recipe because sometimes you’re craving s’mores without the hassle of a campfire (or maybe it’s just raining). These are perfect for a cozy night in, a potluck, or just whenever you’re craving something yummy, gooey and sweet. They’re dangerously addictive, I won’t lie 🙂
Why you’ll love this recipe
Biscoff on biscoff – Biscoff cookies in the crust, a generous drizzle of Biscoff spread on top, give these bars an incredible Biscoff cookie butter flavour (how many times have I said Biscoff).
Layers of texture – You get a chewy, buttery crust, rich melted dark chocolate, and a perfectly toasted, gooey marshmallow topping all in one bite.
No campfire needed – Enjoy all the classic s’mores flavour you love, complete with toasted marshmallows, right from your oven.
Ingredients
- Unsalted butter, softened
- Granulated sugar
- Large egg
- Vanilla extract
- All-purpose flour
- Graham cracker crumbs
- Biscoff cookies, crushed into crumbs
- Baking powder
- Salt
- Dark chocolate bars (this is already pretty sweet, I wouldn’t recommend using milk chocolate!)
- Marshmallow fluff
- Mini marshmallows
- Biscoff spread
Equipment
- 9×9 inch (23×23 cm) baking pan
- Parchment paper
- Hand mixer or stand mixer (with paddle attachment)
Tips for making Biscoff S’mores Squares
- Don’t overmix the crust. When you add the flour mixture to the wet ingredients, mix only until everything is just combined. Overmixing can develop the gluten too much, which makes your crust tough instead of tender and crumbly.
- Cooling is key for clean cuts! These gooey marshmallow chocolate Biscoff squares are incredibly warm and sticky right out of the oven. Letting them cool completely (or even chilling them in the fridge for an hour) will help the chocolate and marshmallow set up, so you can get nice, neat squares. Otherwise, you’ll have a bit of a mess (and that’s okay too!).
- Choose your chocolate wisely. The recipe calls for dark chocolate, which balances the sweetness of the marshmallow and Biscoff really well. But if you prefer a sweeter s’mores experience, you can swap in milk chocolate or even a mix of both.
- Line your pan for easy removal. Don’t skip lining your baking pan with parchment paper, leaving an overhang on the sides. These sticky-sweet Biscoff s’mores squares are gooey, and the parchment makes it a lot easier to lift the whole slab out of the pan once it’s cooled.
FAQ
Can I use a different type of chocolate for these bars? Yes. While dark chocolate balances the sweetness nicely, you can use milk chocolate bars if you prefer a sweeter s’mores. A mix of dark and milk chocolate would also be delicious. Just make sure they are full-sized bars that will melt well.
How should I store these Biscoff s’mores squares? You can store these bars in an airtight container at room temperature for up to 3-4 days. For longer storage, you can keep them in the fridge, but they might get a little firmer. Just let them come to room temperature before enjoying for the best texture.
Can I make these Biscoff s’mores bars ahead of time? Yes, these bars are a great make-ahead dessert! They actually hold up really well for a few days. The flavours deepen and the layers set nicely, making them perfect for a party or a sweet treat throughout the week. Just ensure they’re fully cooled before storing.
Why did my marshmallow topping get hard or crunchy instead of gooey? If your marshmallow topping got hard, it might have been baked for too long or at too high a temperature. The goal is golden brown and slightly toasted, not burnt. Keep a close eye on them during the last few minutes of baking, as ovens can vary. You want that soft, gooey marshmallow texture.
Make sure to tag me @theflournook on social media and leave a review below if you make these Biscoff s’mores squares. To pin this recipe and save it for later, you can use the button on the recipe card, the buttons above or below this post, or on any of the photos above.
Happy baking!
Print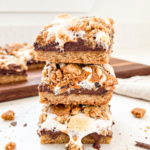
Biscoff S’mores Squares
Description
Chewy Biscoff cookie crust, melted dark chocolate, and gooey toasted marshmallow come together in these easy, no-campfire s’mores bars. Perfect for a quick, sticky-sweet treat in just an hour.
Ingredients
For the Biscoff Crust
- 1/2 cup (113 grams) unsalted butter, softened
- 3/4 cup (150 grams) granulated sugar
- 1 large egg (50 grams)
- 1 teaspoon (5 milliliters) vanilla extract
- 1 1/2 cups (180 grams) all-purpose flour
- 1 cup (110 grams) graham cracker crumbs
- 8 Biscoff cookies (60 grams), crushed into crumbs
- 1 teaspoon (4 grams) baking powder
- 1/4 teaspoon (1.5 grams) salt
For the S’mores Topping
- 3 full dark chocolate bars (approximately 300 grams total, e.g., three 100g bars)
- 1 cup (140 grams) marshmallow fluff
- 1 cup (50 grams) mini marshmallows
- 1/2 cup (150 grams) Biscoff spread
Instructions
- Preheat your oven to 350°F (175°C).
- Line a 9×9 inch (23×23 cm) baking pan with parchment paper, leaving an overhang on the sides to easily lift the bars later.
- In a large mixing bowl, cream together the softened butter and granulated sugar until the mixture is light and fluffy. You can use a hand mixer or a stand mixer for this.
- Beat in the egg and vanilla extract until just combined.
- In a separate medium bowl, whisk together the all-purpose flour, graham cracker crumbs, Biscoff cookie crumbs, baking powder, and salt.
- Gradually add the dry ingredients to the wet ingredients, mixing on low speed or by hand with a spatula until just combined. Be careful not to overmix the dough.
- Press about two-thirds of the crust mixture evenly into the bottom of your prepared baking pan.
- Arrange the dark chocolate bars over the pressed crust, leaving a small 1/4 to 1/2 inch (about 0.5-1 cm) border around the edges and between the chocolate bars.
- Carefully spread the marshmallow fluff over the chocolate bars, doing your best to cover them evenly.
- Scatter the mini marshmallows over the marshmallow fluff layer.
- Crumble the remaining one-third of the crust mixture evenly over the marshmallow layers.
- Drop spoonfuls of the Biscoff spread over the crumbled crust topping.
- Bake for 30 minutes, or until the marshmallows are beautifully golden brown and the crust is set.
- Let the squares cool completely in the baking pan on a wire rack before lifting them out using the parchment paper overhang.
- Cut into 16 squares and enjoy!
Notes
- Don’t overmix the crust. Just like with cookies, overmixing after adding flour can make your crust tough. Mix until the ingredients are just combined for a tender base.
- Cooling is key. These squares are super gooey and delicious, but they need to cool completely before cutting. Otherwise, it’ll be pretty messy (which isn’t bad, but not pretty for serving!). Pop them in the fridge for an hour to speed it up.
- Chocolate choice matters! While the recipe calls for dark chocolate, you can use milk chocolate or a mix of both if you prefer a sweeter bar.
Leave a Reply