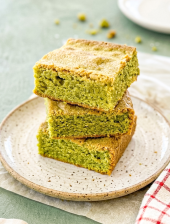
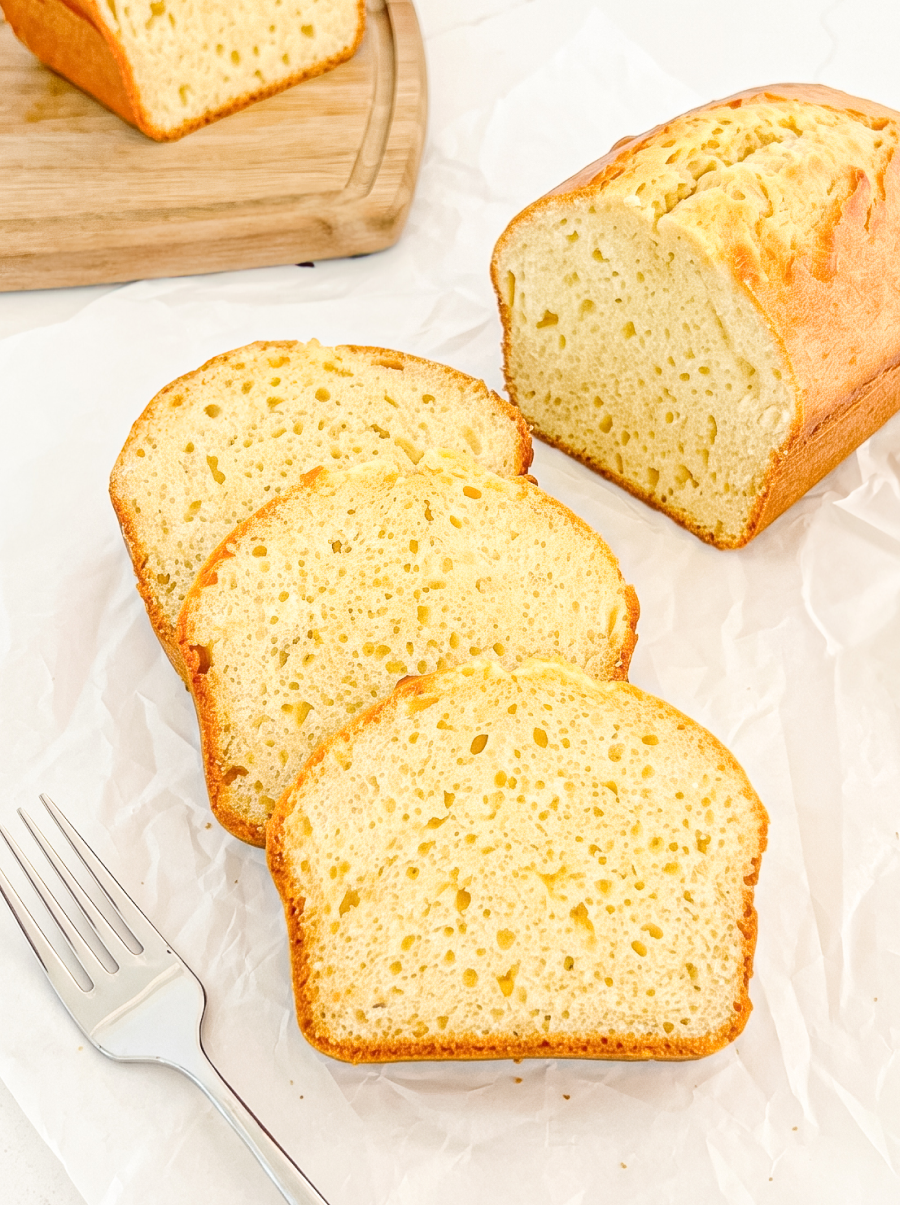
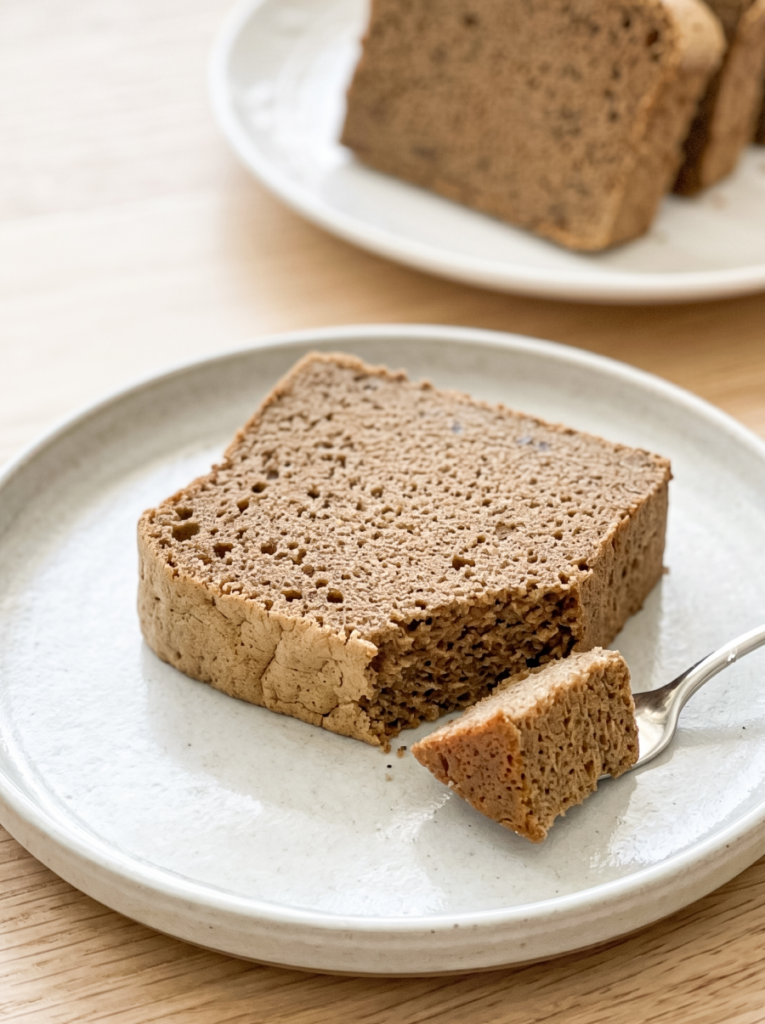
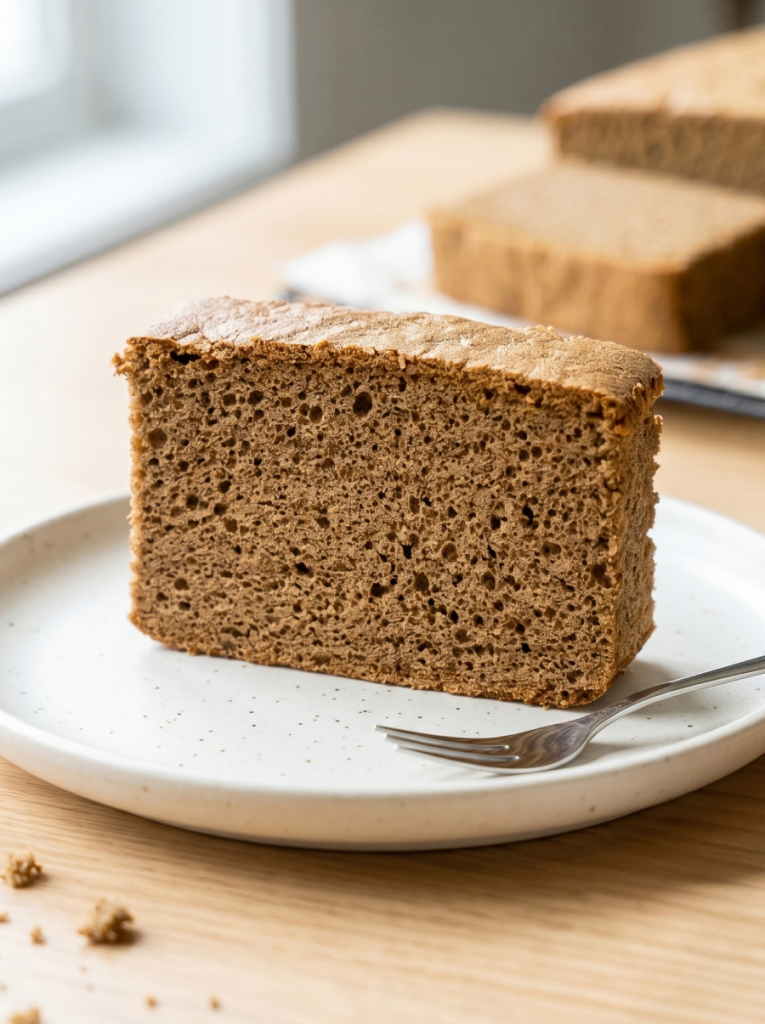
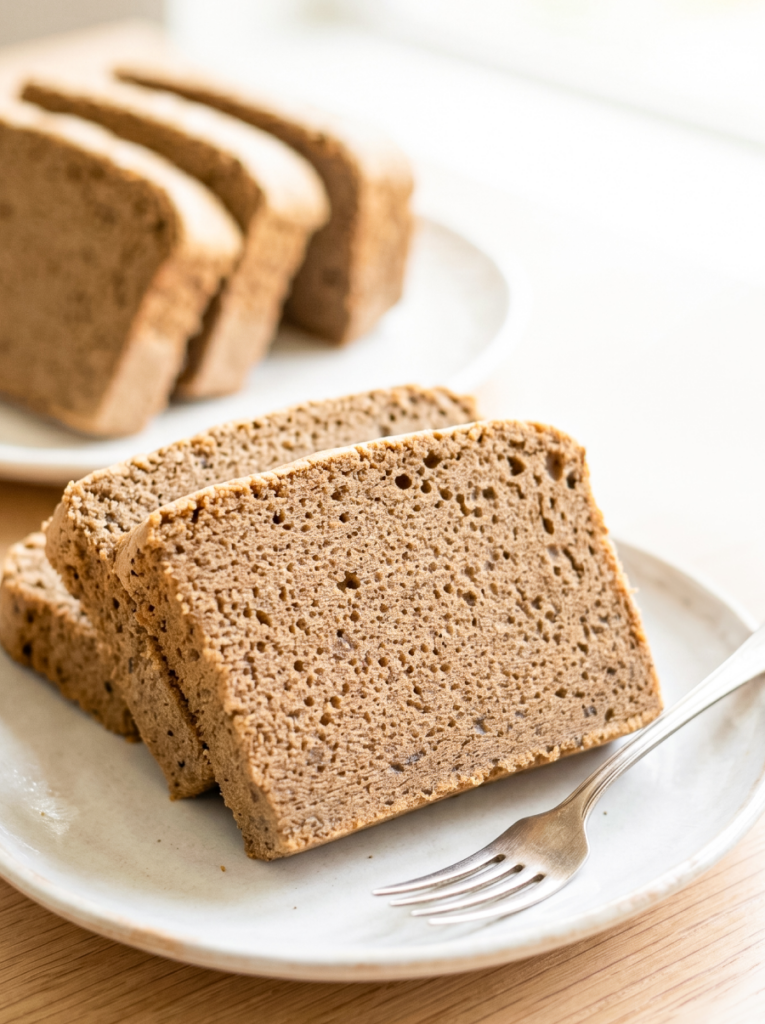
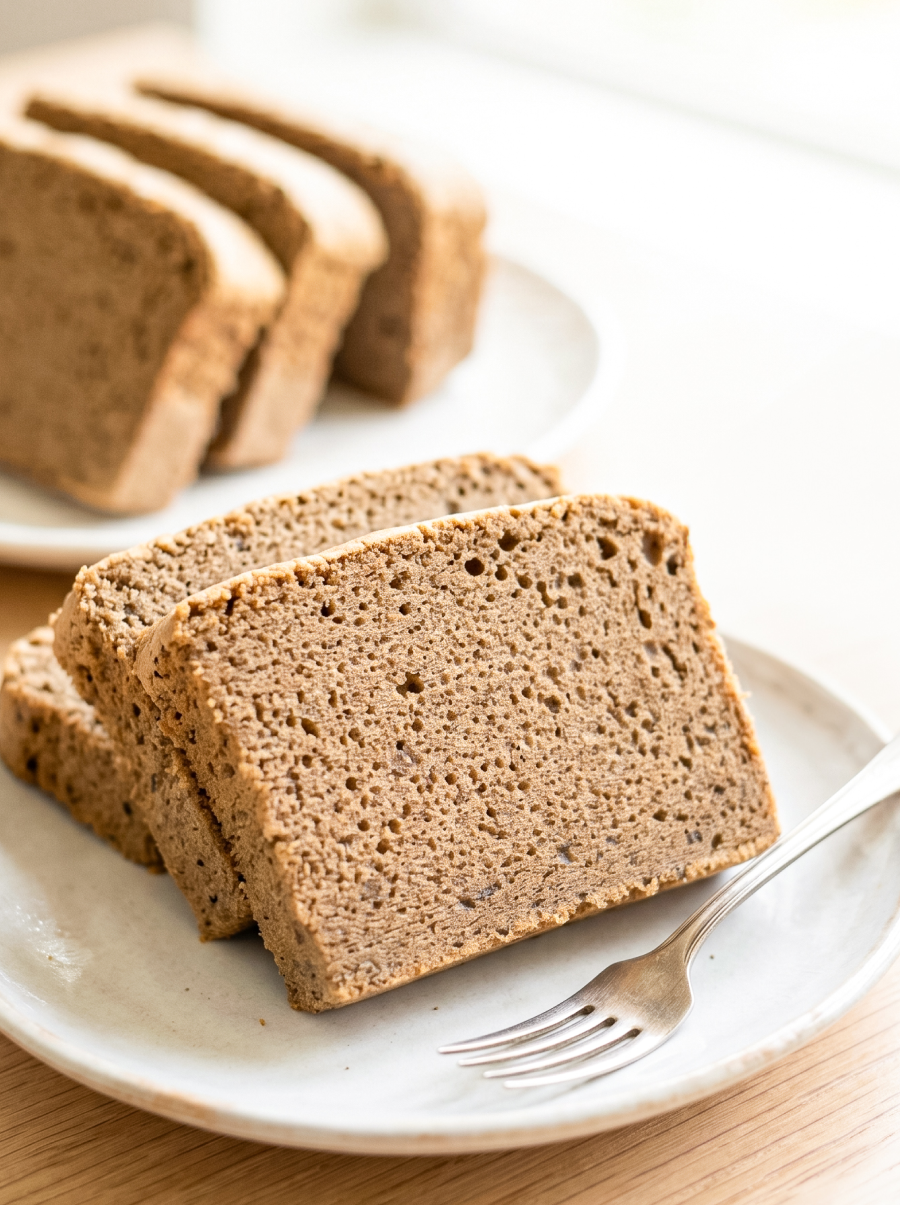
I’ve been playing around with castella cake recipes for a while now, and this jiggly Hojicha Castella cake is my current favourite. Castella is a classic Japanese sponge cake, known for its super light, bouncy, and moist texture. The hojicha powder adds a lovely roasted green tea flavour that’s warm and a bit nutty, making it really unique.
The secret to that signature jiggly texture and delicate crumb is twofold: a carefully whipped soft-peak meringue, and baking it in a water bath. Hojicha, by the way, is a roasted Japanese green tea, so it has a distinct flavour profile that’s different from matcha, often described as having notes of caramel and warmth. You can find this at your local asian tea shop!

This cake feels so unique and it’s really satisfying to make. I brought it to a friend’s place last weekend, and everyone loved how light it was. It’s perfect for an afternoon with tea (with more hojicha?!), or when you want something a little different for dessert.
Why you’ll love this recipe
- Jiggly texture: This Japanese hojicha sponge cake has a super light and bouncy texture that’s really fun.
- Unique flavour: The hojicha powder adds a warm, roasted green tea taste that’s a bit nutty.
- Delicate crumb: It’s known for having a very fine, tender crumb that just melts in your mouth.
Ingredients
- Cake flour
- Hojicha powder
- Fine sea salt
- Unsalted butter, melted
- Whole milk (or 2% / skim)
- Large eggs, separated
- Vanilla extract
- Large egg whites (from separated eggs above)
- Cream of tartar or lemon juice
- Granulated sugar
*These are the main ingredients. The full list of ingredients and measurements can be found at the bottom of this post!*
Equipment
- Kitchen scale (I like to weigh out most of my ingredients for accuracy, I also think it’s more efficient when measuring things out over measuring cups!)
- Large mixing bowls (2-3)
- Measuring cups and spoons
- Whisk
- Rubber spatula
- Electric mixer (stand mixer or hand mixer)
- Fine-mesh sieve
- 8x8x3 inch (20x20x7.5 cm) square baking pan
- Parchment paper
- Larger roasting pan or baking sheet (for water bath)
- Toothpick
- Kettle (for hot water)
- Cooling rack
Tips for making Fluffy Hojicha Castella
- Perfect meringue peaks: Don’t rush whipping the meringue. Achieving those perfect soft peaks is absolutely key for that signature jiggly Hojicha cake texture. If it’s too stiff, your fluffy egg white cake hojicha might be dense; too soft, and it might collapse.
- Gentle folding: When you’re folding the meringue into the batter, be gentle! Overmixing will deflate all the air you just worked so hard to whip in, leading to a less airy cake. Slow and steady wins the race here for an authentic Castella cake
- The water bath secret: It creates a steamy environment in your oven, ensuring the water bath bakes evenly and stays incredibly moist and tender. It’s essential for how to make jiggly hojicha castellas.
- Quality hojicha powder: For the best roasted green tea dessert flavour in your Hojicha Castella cake recipe from scratch, use a good quality hojicha powder. It really makes a difference to the overall taste and colour.
FAQ
What is hojicha powder? It’s a roasted Japanese green tea. Unlike matcha, which is steamed, hojicha is roasted, giving it a warm, nutty, and slightly caramel-like flavour that’s a great matcha alternative dessert recipe.
Can I make this without a water bath? You can try, but the water bath is crucial for the unique jiggly texture and moistness of this Castella cake recipe unique flavor. Without it, the cake will likely be drier and less delicate.
How do I store Hojicha Castella? Keep it in an airtight container at room temperature for up to 2 days, or in the fridge for up to 4 days. It’s best enjoyed fresh, but it still holds up well.
Why did my cake sink in the middle? This can happen if the meringue wasn’t whipped enough (too soft) or if it was overmixed when folding into the batter. Opening the oven door too early can also cause it to collapse.
Make sure to tag me @theflournook on social media and leave a review below if you make this hojicha castella. To pin this recipe and save it for later, you can use the button on the recipe card, the buttons above or below this post, or on any of the photos above.
Happy baking!
Hojicha Castella
- Total Time: 1 hr 30 mins
- Yield: 9–12 servings 1x
Description
Ingredients
For the Castella Batter:
- 1 cup (120 grams) cake flour
- 1 1/2 tablespoons (9 grams) hojicha powder
- 1/4 teaspoon (1.25 grams) fine sea salt
- 1/2 cup (113 grams) unsalted butter, melted
- 1/2 cup (120 milliliters) whole milk (or 2% / skim)
- 8 large eggs, separated
- 1/2 tablespoon (7.5 milliliters) vanilla extract
For the Meringue:
- 8 large egg whites (from separated eggs above)
- 1/2 teaspoon (2 grams) cream of tartar or lemon juice
- 3/4 cup (150 grams) granulated sugar
Instructions
- Preheat your oven to 300°F (150°C). Line an 8x8x3 inch (20x20x7.5 cm) square baking pan with parchment paper, making sure to leave at least a 1-inch (2.5 cm) overhang on all sides. This makes lifting the cake out super easy!
- Grab a large mixing bowl. Sift the cake flour, hojicha powder, and salt into it. Give it a quick whisk to make sure everything is evenly combined.
- In a small, microwave-safe bowl or mug, combine the milk and melted butter. Microwave this mixture until the butter is fully melted. Be careful not to let it get too hot – just warm enough to melt the butter.
- Pour the warm butter-milk mixture into the large bowl with your sifted dry ingredients. Whisk everything together until you have a smooth batter.
- Separate your 8 large eggs, placing the yolks into your batter bowl and the whites into a separate, very clean large mixing bowl (we’ll make meringue with these soon!). Whisk the egg yolks into the batter until they’re just combined. Then, stir in the vanilla extract. Set this bowl aside.
- Now, let’s make that fluffy meringue! Add the cream of tartar (or lemon juice) to the egg whites in your second large mixing bowl. Beat them on low speed with an electric mixer until they become foamy. Gradually, while still beating, slowly pour in about one-third of the granulated sugar. Increase the speed to medium. Repeat this process with the remaining sugar, adding it in two more batches. Continue beating until your meringue reaches soft peaks – when you lift the whisk, the tip of the meringue should flop over gently, like a soft serve ice cream cone that’s seen better days.
- Add about 1/3 of your meringue into the cake batter. Gently fold it in using a rubber spatula. Think of a “J” motion: scoop from the bottom of the bowl, lift, and fold over, rotating the bowl as you go. Repeat this two more times with the remaining meringue until your batter is a uniform colour and looks light and airy. Be gentle; we want to keep all that air!
- Pour your batter into the parchment-lined baking pan. Gently tap the pan on your counter a few times to release any large air bubbles. If you spot any big bubbles, pop them with a toothpick.
- Place your cake pan into a larger roasting pan or baking sheet. Carefully pour hot (but not boiling!) water into the larger pan, surrounding the cake pan, until the water level reaches about 1 to 1.5 inches (2.5-3.8 cm) up the sides of your cake pan.
- Carefully transfer the entire setup (baking sheet with water bath and cake pan) to the lower third rack of your preheated oven. Bake for 65-70 minutes, or until a toothpick inserted into the centre of the cake comes out clean.
- Once baked, remove the cake from the oven and let it sit in its pan for about 5 minutes. Then, use the parchment paper overhang to gently lift the cake out of the pan. Peel off the parchment paper, cut the cake while it’s still warm, and serve immediately!
Notes
- Don’t rush the meringue! Achieving those perfect soft peaks is absolutely key for that signature jiggly, bouncy Castella texture. If it’s too stiff, your cake might be dense; too soft, and it might collapse.
- When you’re folding the meringue into the batter, pretend you’re handling a delicate cloud! Overmixing will deflate all the air you just worked so hard to whip in, leading to a less airy cake.
- That water bath creates a steamy environment in your oven, ensuring the Castella bakes evenly and stays incredibly moist and tender. It’s the secret to its signature delicate crumb and prevents the edges from drying out.
- Prep Time: 30 mins
- Cook Time: 1 hr
- Category: Cake
- Cuisine: Japanese
did you make this hojicha castella?
Tag me on socials and follow along for new easy sweet treat recipes!



Comments & Reviews