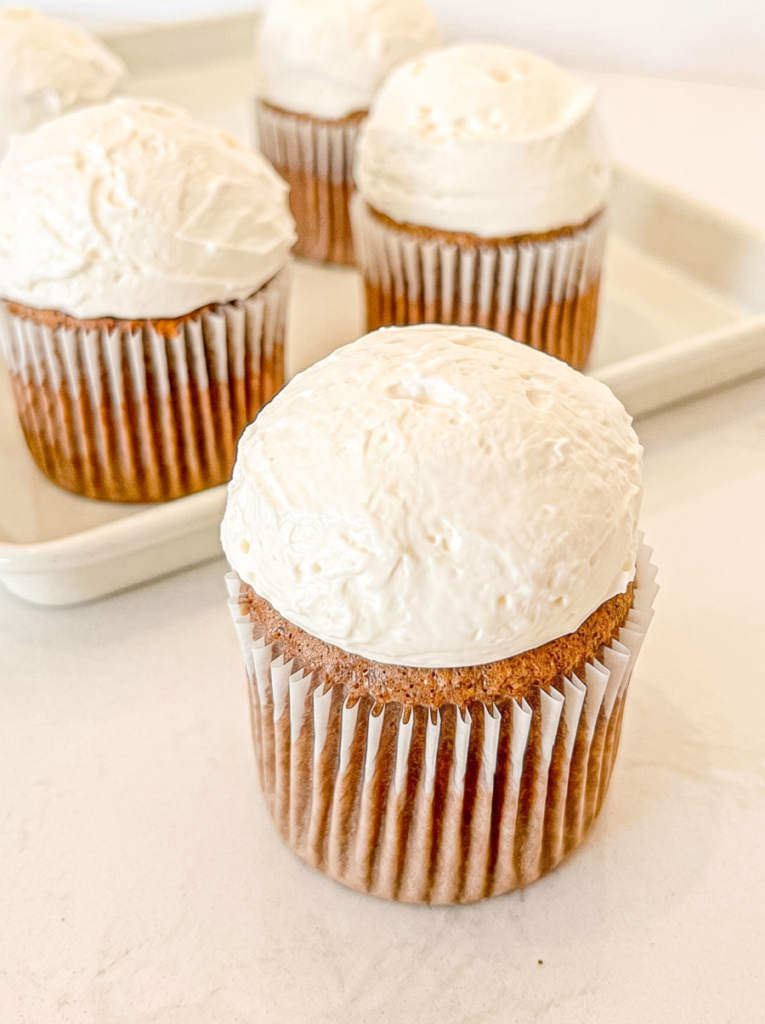
I have been obsessed with chiffon lately. Seriously, the way it just melts in your mouth, that lightness you get from all those carefully folded egg whites? There’s nothing quite like it. Also, I’m a big fan of things that feel a little special but are still very much doable in a home kitchen (usually a small batch, too, because why make 24 cupcakes when you can make 6?). So, naturally, I had to make these Hokkaido Mocha Chiffon Cupcakes.

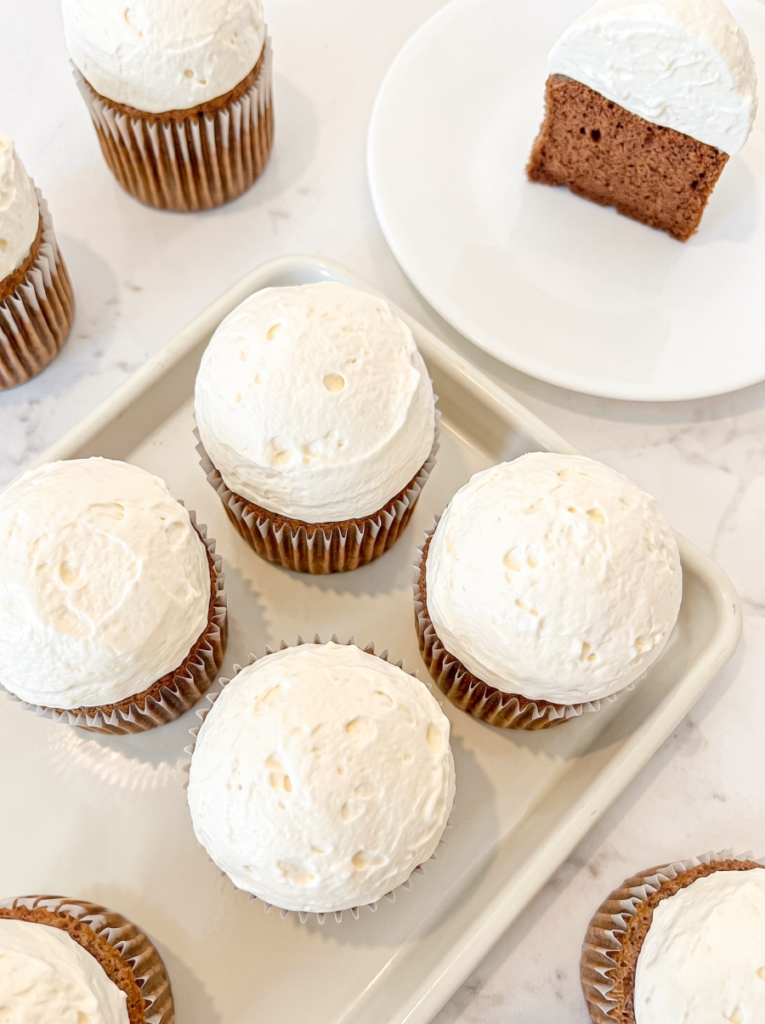
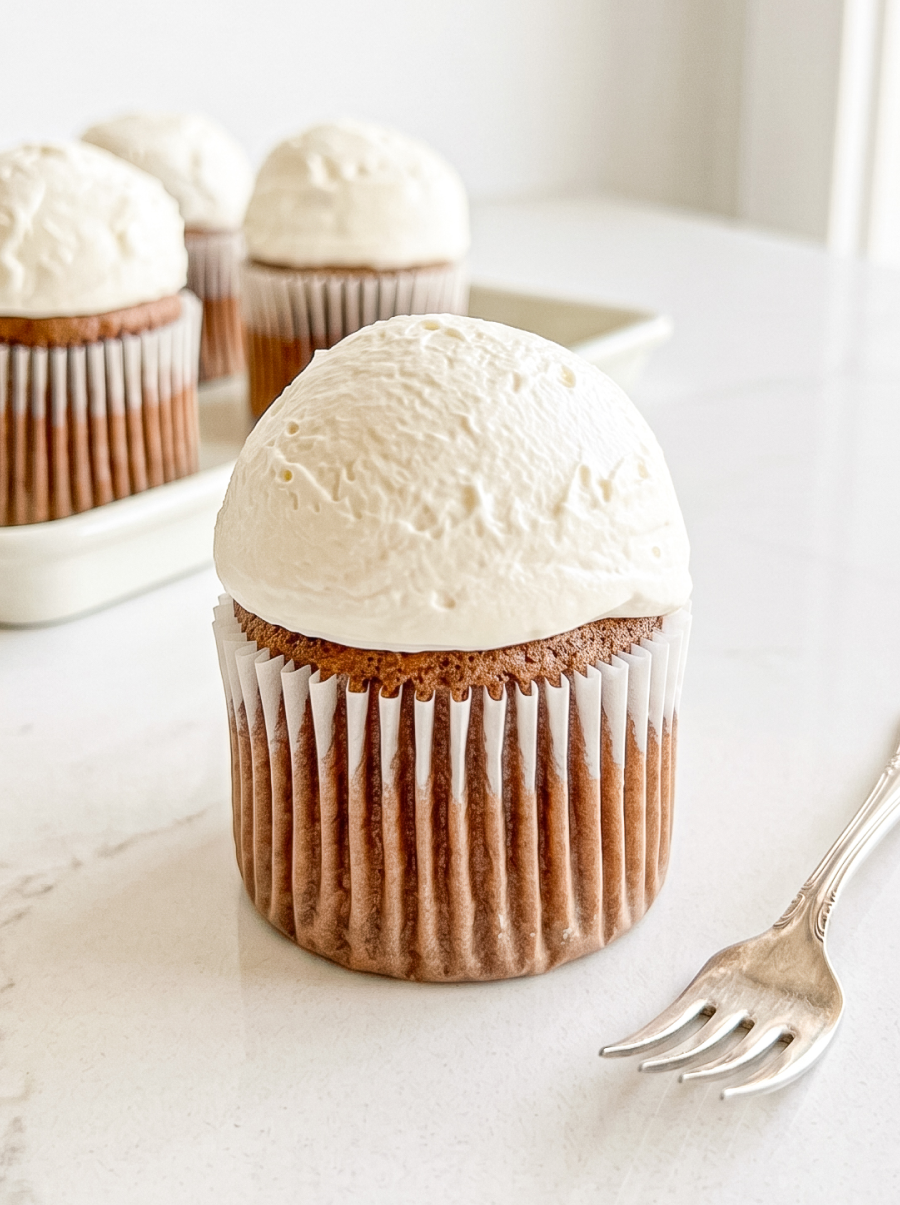
These coffee-infused cupcakes are like a latte in cupcake form. Light and fluffy chiffon sponge with a rich mocha flavour, topped with a cute round cloud of whipped cream. And if you’re feeling a caramel macchiato vibe (which, let’s be real, you should), a little caramel drizzle takes them to the next level (optional though!!).
And yes, you can absolutely do this. Don’t let the word “chiffon” make you think it’s too tricky, because I promise you, it’s not.
What Are Hokkaido Cupcakes?
Despite their name, Hokkaido cupcakes actually originated in Singapore, not Japan. They were inspired by the soft and airy texture of Japanese baked goods, which explains their lightness. These cupcakes are often made with a delicate chiffon base and filled with whipped cream for a creamy, fluffy bite. While they may not be a traditional Hokkaido specialty, they’ve become a beloved treat known for their super soft texture and “just right” sweetness.
Ingredients
- Large eggs
- Neutral oil
- Brewed coffee (strong)
- Cake flour
- Cocoa powder
- Granulated sugar
- Lemon juice
- Heavy whipping cream
What Makes a Hokkaido Chiffon Cupcake So Light?
It all comes down to the egg whites and a specific flour choice. Chiffon cake batter is mostly air, held together by a sturdy meringue. This recipe uses cake flour, which has a lower protein content than all-purpose flour. Less protein means less gluten development, and less gluten means a softer, more tender crumb.
The really important part, though, is how you handle the egg whites. You’re going to whip them into a glossy meringue with granulated sugar until they form stiff peaks. Then, you gently fold that meringue into your egg yolk batter. You want to maintain as much of that air as possible, so take your time and use that ‘J’ motion I describe in the instructions. It ensures your cupcakes stay fluffy and don’t deflate. (I tested this WAY more than necessary to get the folding just right, so you don’t have to!)
The Importance of a Gentle Bake
Chiffon is a bit particular about its oven temperature, and for good reason! This recipe uses a stepped baking process, starting low and gradually increasing the heat. There’s a method to the madness here:
- Starting at a lower temperature (250°F / 120°C) allows the cupcakes to rise slowly and evenly. This gentle heat helps to set the delicate structure of the meringue-based batter without causing it to crack or dome too quickly.
- Gradually increasing the temperature (to 265°F / 130°C, then 300°F / 150°C) ensures the cupcakes bake through thoroughly and develop a stable structure. If the oven is too hot too soon, the outside can set before the inside has a chance to fully rise, leading to a dense centre or a sunken top.
It’s a little bit of patience, but it pays off with cupcakes that are truly light from top to bottom. Once they’re out of the oven, make sure they cool completely before you even think about adding that whipped cream. Hot cake + cold cream = sad, melted mess.
Equipment
- Kitchen scale (I like to weigh out most of my ingredients for accuracy, I also think it’s more efficient when measuring things out over measuring cups!)
- Large and small mixing bowls
- Measuring cups and spoons
- Whisk
- Rubber spatula
- Electric mixer (stand or hand-held)
- Cupcake/muffin pan (for those straight edge cupcakes, I got mine from a Korean bakery supplier!)
- Cupcake liner molds
- Piping bag (optional but recommended, this batter is pretty runny)
- Wire cooling rack
My Best Tips for Fluffy Chiffon Cupcakes
- Whisk the oil and coffee first. Make sure they are thoroughly combined before you sift in the dry ingredients. This helps prevent lumps and ensures a smooth batter later.
- Don’t skip sifting. Cake flour and cocoa powder can clump. Sifting them together ensures an even distribution and an ultimately smoother, lump-free batter.
- Lemon juice in meringue. Just a few drops of lemon juice (or cream of tartar, if you have it) helps to stabilize the egg whites, making your meringue stronger and more resilient. This means more stable air bubbles and a better rise.
- Tap the pan. After piping the batter into the cupcake liners, tap the pan gently on your counter a few times. This helps to release any large air bubbles that might be trapped, preventing big holes in your baked cupcakes.
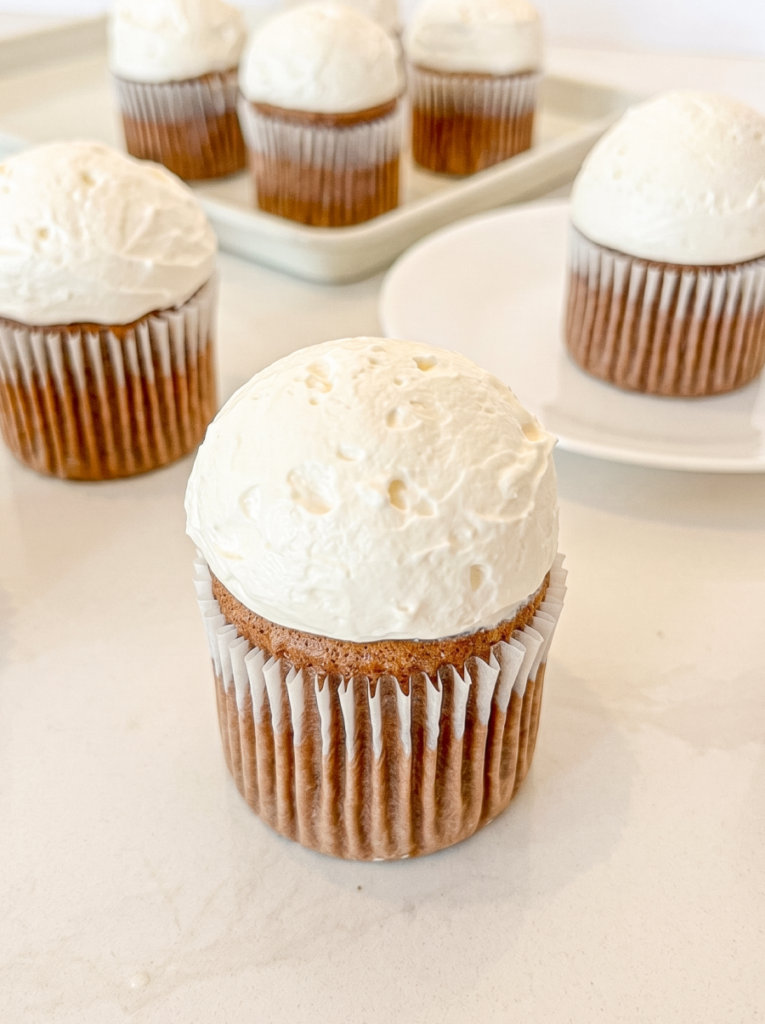
That’s it from me! I really hope you make these Hokkaido mocha chiffon cupcakes. They’re such a rewarding bake and definitely my favourite way to enjoy a light, coffee-flavoured cake right now. If you try them, please share a photo and tag me on socials @theflournook (I love seeing what you bake!). And if you enjoyed the recipe, leaving a review helps me out a lot. You can pin or save this recipe using the button on the recipe card or any of the photos in the post.
Enjoy!
Print
Hokkaido Mocha Cupcakes
- Total Time: 1 hr 20 mins
- Yield: 6 1x
Description
These Hokkaido mocha cupcakes are so light, airy, and bouncy, with a delicious coffee chocolate flavour! This small batch recipe uses the gradual baking method for the signature chiffon texture, topped with a cloud of whipped cream.
Ingredients
Cake
- 2 large eggs (60 g), yolks and whites separated
- 2 tbsp (26 g) neutral oil, I use corn oil
- 2 tbsp (30 g) strong brewed coffee
- 1/4 cup (30 g) cake flour
- 1 tbsp (4 g) cocoa powder
- 3 tbsp (36 g) granulated sugar
- A few drops lemon juice
Whipped Cream
- 1 cup (250 g) heavy whipping cream
- 2 tbsp (20 g) granulated sugar OR 1 tbsp (10 g) powdered sugar
Instructions
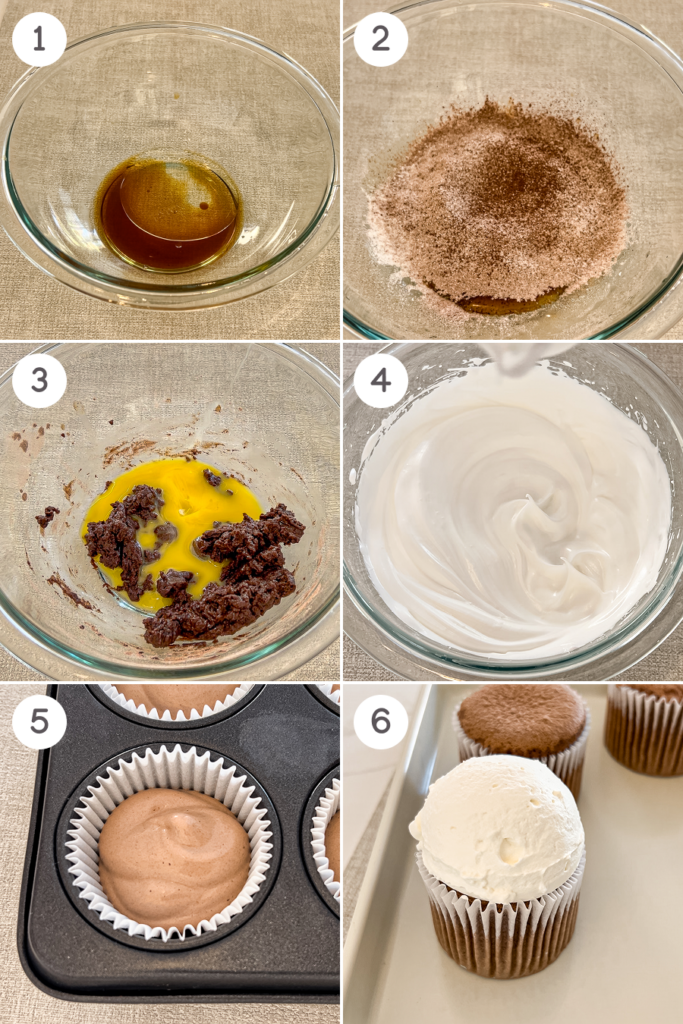
- Preheat oven to 250°F (120°C). Line a muffin tin with cupcake/muffin liners.
- In a medium bowl, whisk the oil and coffee together. Sift cake flour and cocoa powder into the mixture. Whisk until a thick batter forms. Stir in the egg yolks until smooth. Set aside.
- In a separate bowl, add lemon juice to the egg whites. Beat until frothy. Gradually add granulated sugar while continuing to beat until stiff peaks form. The meringue should hold a slight hook.
- Gently fold half of the meringue into the egg yolk mixture until just combined. Use a light hand to preserve the air in the batter. Add the yolk mixture to the remaining meringue. Fold gently until just combined. It should be quite runny.
- Pipe or scoop batter into lined cupcake molds, filling each about ¾ full. Tap the pan gently on a hard surface to release large air bubbles.
- Bake – First Stage: Bake at 250°F (120°C) for 30 minutes.
- Bake – Second Stage: Increase the oven temperature to 265°F (130°C). Bake for another 15 minutes.
- Bake – Third Stage: Raise the temperature to 300°F (150°C). Bake for the final 10 minutes.
- Remove cupcakes from oven. Cool completely.
- In a chilled bowl, beat heavy cream and sugar together until stiff peaks form.
- Pipe or scoop whipped cream onto the cooled cupcakes for that asian bakery look. Smooth with a spatula if desired.
Notes
- A stable meringue is crucial for a light chiffon. I beat my egg whites until they hold a firm, slightly hooked peak; this provides the structure I want.
- When folding the meringue into the yolk batter, I use a light hand to preserve the air you’ve built. This keeps the cupcakes airy and tender.
- The gradual temperature increases during baking are key. I find this helps the chiffon rise evenly and prevents it from collapsing after baking.
- Prep Time: 25 mins
- Cook Time: 55 mins
- Category: Cake
- Method: Baking
did you make this hokkaido mocha cupcake?
Tag me on socials and follow along for new easy sweet treat recipes!


Comments & Reviews